Introduction:
Learn how to enhance the security of your WordPress installation using WP Toolkit in Plesk. This comprehensive tool provides essential security features to safeguard your website from common vulnerabilities, ensuring the protection of your valuable data and maintaining the integrity of your online presence.
Approximately 15 Minute Process
Step-by-Step Guide
1. Login to Plesk via your Zeniar Portal account and load the WP Toolkit, if you haven't already, Click here to learn how
2. To secure WordPress after installation, click on Fix Vulnerabilities as shown below
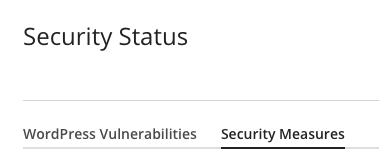
3. Click on the Security Measures tab in the pop out window
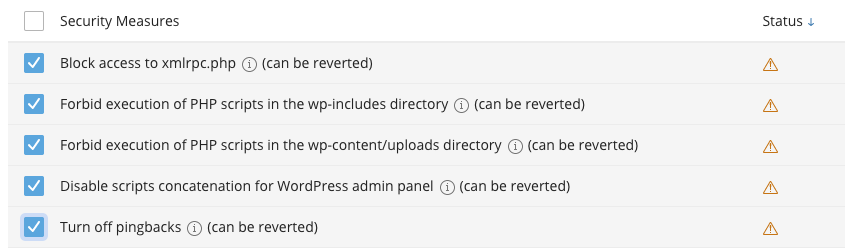
4. Security measures that can be secured are then shown in the list below.
![]() Applying this security measure is recommended for WordPress website security. You can revert the measure at any time if it causes your WordPress website to work incorrectly.
Applying this security measure is recommended for WordPress website security. You can revert the measure at any time if it causes your WordPress website to work incorrectly.
![]() This security measure is applied and no action is required.
This security measure is applied and no action is required.
5. Click on each tick box next to each security measures you wish to resolve
6. Once you have selected the Security Measures you wish to fix, click on the Secure button located at the top of the list
![]()
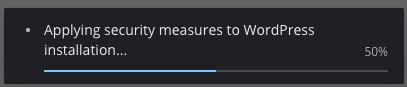
7. You will now see the progress in the lower right corner of the patching
8. Once complete, a message will be displayed at the top of the Security Measures list advising the patching was successful completed
Known Vulnerabilities
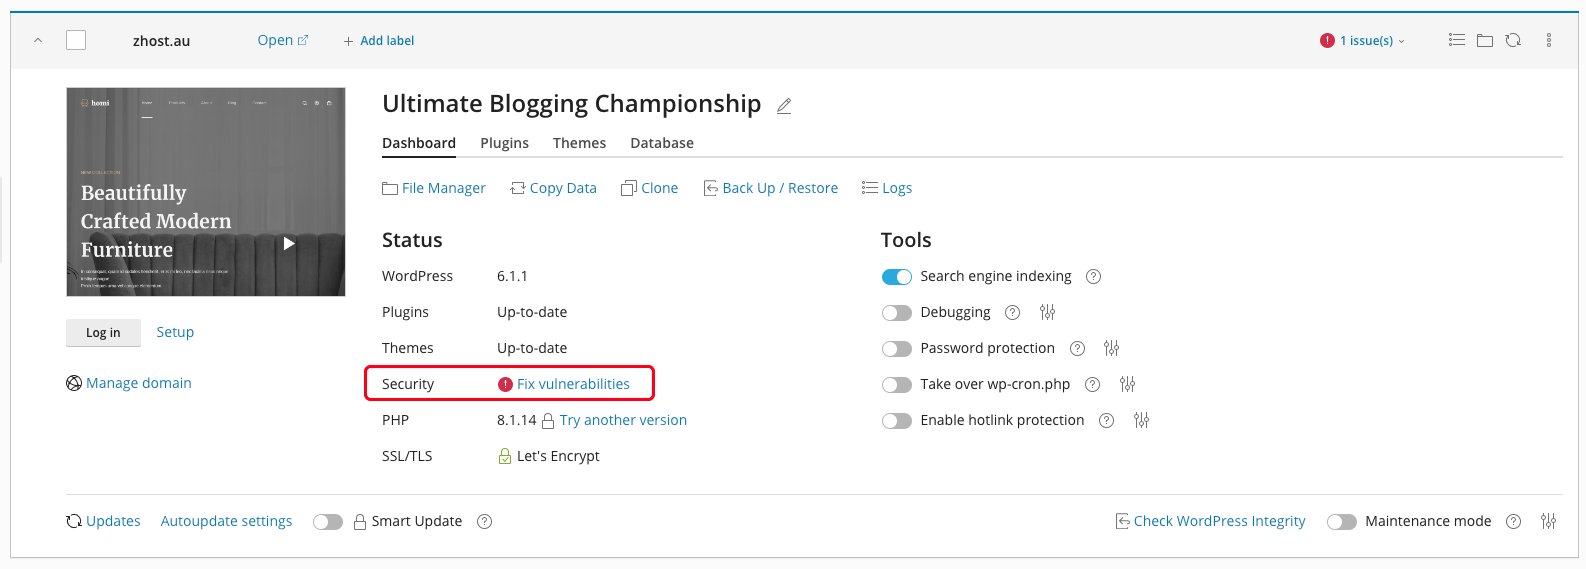
When security vulnerabilities are found on your site, a message will be shown under the Status of your WordPress installation as shown below
1. Click on Fix Vulnerabilities
2. Known security vulnerabilities are shown. If a patch is available, you can update the WordPress installation or Plugins. If no none patch is available yet, you will not have the option to update.
Require additional assistance?
Our dedicated Australian support team is ready to help. Reach out to us via email at support@zeniar.com or by submitting a support ticket through your Zeniar Portal.

