Introduction:
These instructions guide you through the process of scheduling a maintenance window for your website(s) using the 360 Monitoring feature in the Zeniar Portal. During the maintenance window, alerts for website performance issues will be temporarily paused, and normal alerting will resume once the window ends.
Approximately 10 Minute Process
Step-by-Step Guide
1. Login to Plesk via your Zeniar Portal (Learn How)
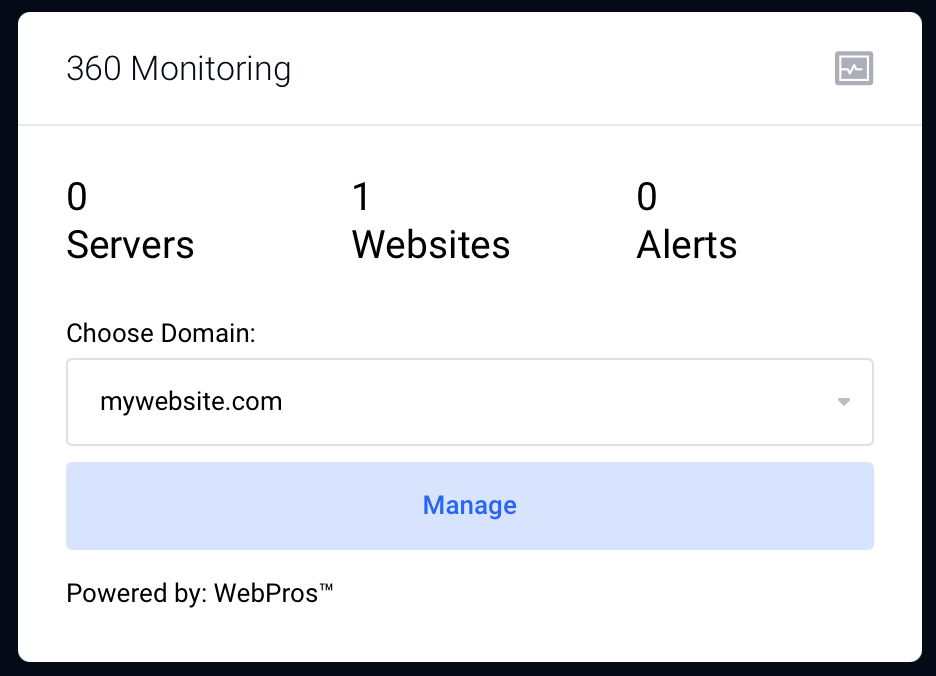
2. Click the Manage button to open the 360 Monitoring dashboard in a new tab.
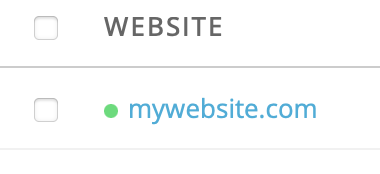
3. Navigate to the Websites tab at the top of the dashboard.

4. Select the website where you'd like to schedule a maintenance window.
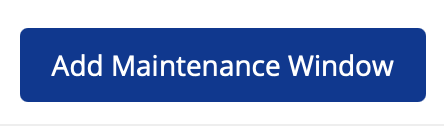
5. Go to the Maintenance tab.

6. Click the Add Maintenance Window button located at the top right.
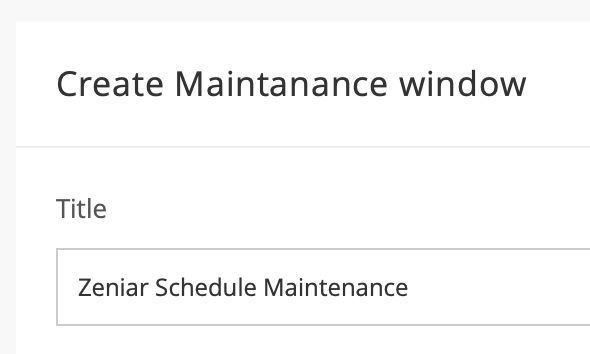
7. Provide a title for the maintenance window.
![]() Note: If you have a public status page configured, the details of this maintenance window will be visible there.
Note: If you have a public status page configured, the details of this maintenance window will be visible there.
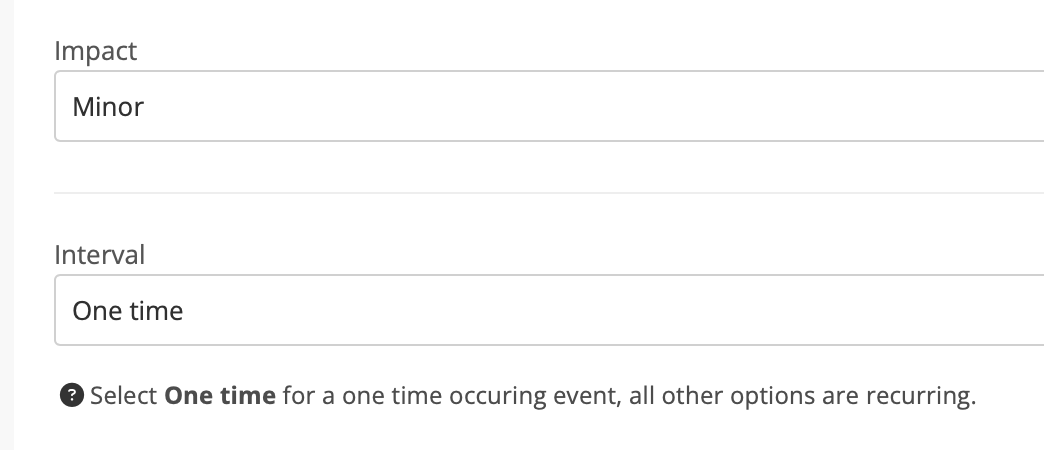
8. Define the Impact & Interval for the maintenance window.
9. Set the start and end date and time for the maintenance window.
![]() Note: Ensure the correct timezone is set on the settings page.
Note: Ensure the correct timezone is set on the settings page.

10. Click the Save button to apply the settings.

Your maintenance window is now successfully configured for the selected website(s). During this window, you will not receive alerts for any website degradation. After the maintenance period, alert notifications will resume as normal.
Require additional assistance?
Our dedicated Australian support team is ready to help. Reach out to us via email at support@zeniar.com or by submitting a support ticket through your Zeniar Portal.

