Introduction:
Discover the effortless way to back up your WordPress website and its content using the WP Toolkit. This simple guide will walk you through the process step by step, ensuring your valuable data is safely preserved.
Approximately 10 Minute Process
Step-by-Step Guide
1. Login to Plesk via your Zeniar Portal account and load the WP Toolkit, if you haven't already, Click here to learn how
2. Click on the Back Up / Restore button as shown below
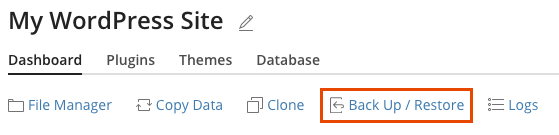
3. Click on the Back Up button to start the backup
![]()
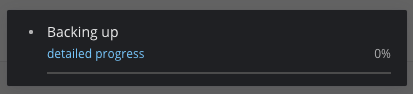
4. The progress of your backup will be shown in the lower right corner
![]() During this progresses, you can continue to use the Plesk dashboard
During this progresses, you can continue to use the Plesk dashboard
5. Once complete, a message will be displayed advising that it was successful

6. A summary of your back ups will be shown in the Back Up / Restore menu
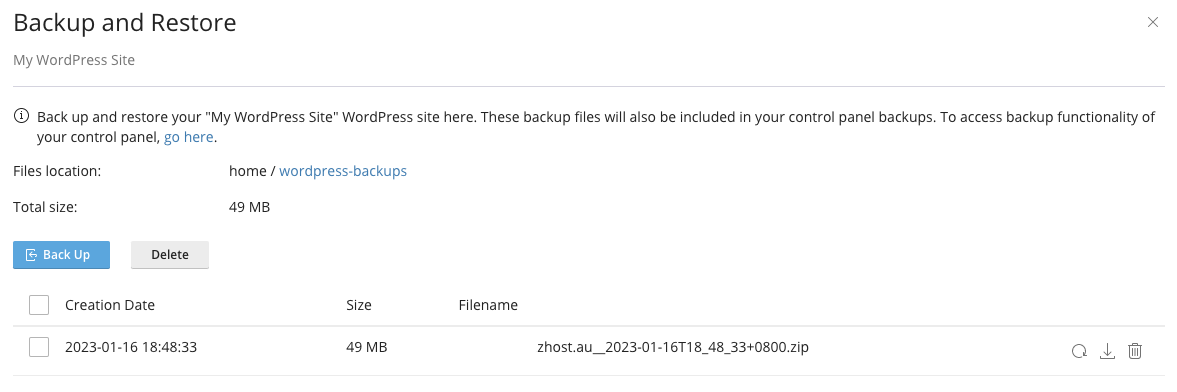
Please note: You can create unlimited backups for your site using the WP Toolkit. However, it's important to remember that these backups will count towards your hosting quota, if applicable.
Require additional assistance?
Our dedicated Australian support team is ready to help. Reach out to us via email at support@zeniar.com or by submitting a support ticket through your Zeniar Portal.

