Introduction:
Learn how to enable the maintenance page on your WordPress website using WP Toolkit in Plesk. This feature allows you to temporarily display a maintenance page to visitors while you make updates or perform maintenance tasks on your site.
Approximately 15 Minute Process
Step-by-Step Guide
1. Login to Plesk via your Zeniar Portal account and load the WP Toolkit
2. In the lower right of the WP Toolkit dashboard, click on the toggle switch for Maintenance Mode to switch on
![]()
3. To change the content displayed on the Maintenance page, click on the Settings Icon next to the Maintenance Mode toggle
![]()
4. If you wish to also restrict access to the WordPress Admin Dashboard, toggle on the switch

5. To change the maintenance page entirely, select the Customize button and upload your HTML file.
![]()
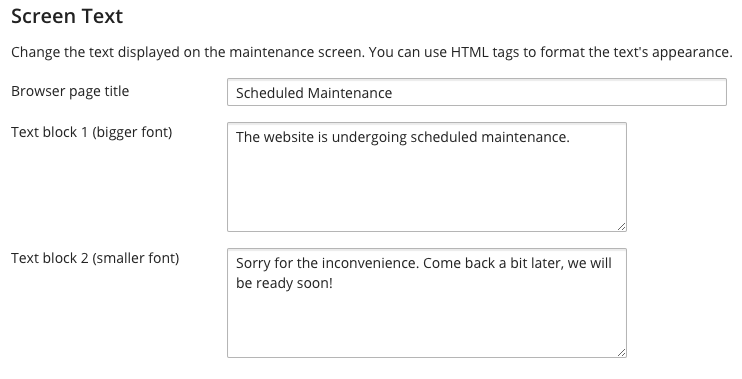
6. To change the the text displayed on the default maintenance page, edit the fields in the section as shown below
7. If you would like to add a count down timer to your page, enable the toggle and set the date and time to end on

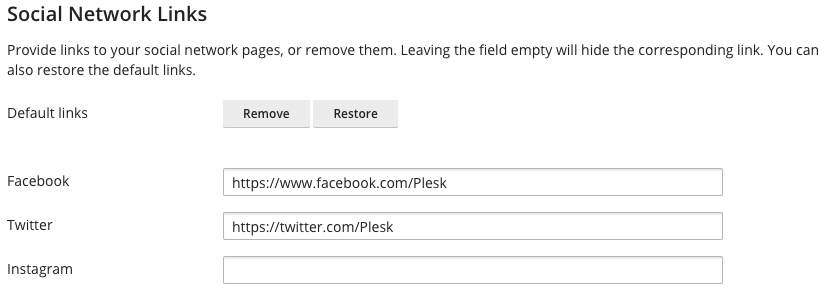
8. You can also display your social media links on the maintenance page
9. Click on the OK button to save the changes to your Maintenance Page

Require additional assistance?
Our dedicated Australian support team is ready to help. Reach out to us via email at support@zeniar.com or by submitting a support ticket through your Zeniar Portal.

