Introduction:
Discover how to create and manage custom Nameservers for your domain, such as NS1.example.com and NS2.example.com. This guide will provide you with step-by-step instructions on setting up and maintaining custom Nameservers to enhance the branding and organization of your online presence.
Approximately 30 Minute Process
Step-by-Step Guide
1. Login to Plesk via your Zeniar Portal (Learn How)
2. Click on the Domains tab at the top

3. Click on the 3 dots to the right of the domain you wish change

4. Select Private Nameserver from the left sidebar
![]()
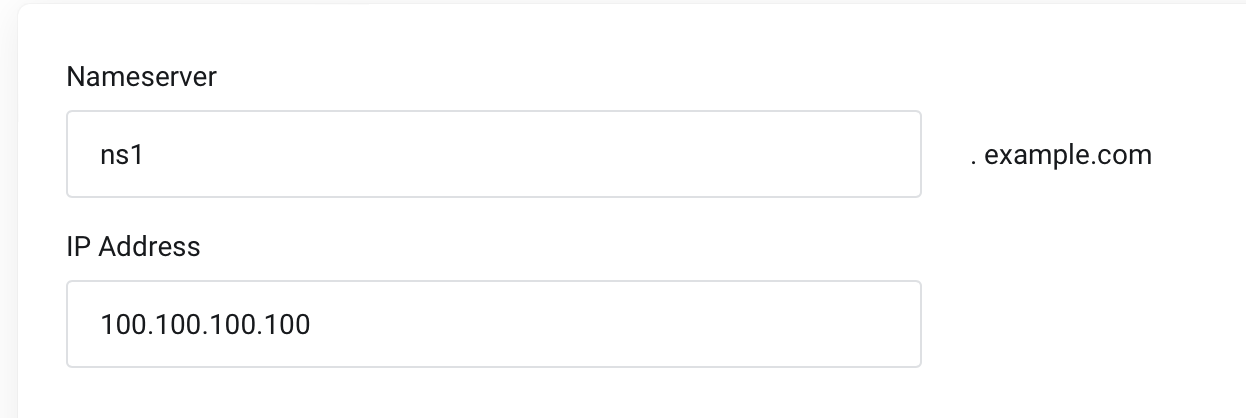
5. Enter the subdomain for your Nameserver and the IP address of the server it should point too
![]() When creating custom Nameservers for your domain, it's essential to begin with NS1, NS2, and so forth in sequential order.
When creating custom Nameservers for your domain, it's essential to begin with NS1, NS2, and so forth in sequential order.

6. Repeat this step for as many Nameserver's as you require
7. Click Save Changes once complete

8. You will now see your new custom Nameserver listed
Require additional assistance?
Our dedicated Australian support team is ready to help. Reach out to us via email at support@zeniar.com or by submitting a support ticket through your Zeniar Portal.


