Introduction:
Learn how to configure your Mail app in iOS and iPadOS to seamlessly work with your email accounts set up in Plesk. This guide will provide you with step-by-step instructions, ensuring that you can easily access and manage your emails on your Apple devices.
Approximately 10 Minute Process
Step-by-Step Guide
1. Go into the Settings app on your iPhone or iPad
![]()
2. Select Mail from the list

3. Select Accounts

4. Select Add Account

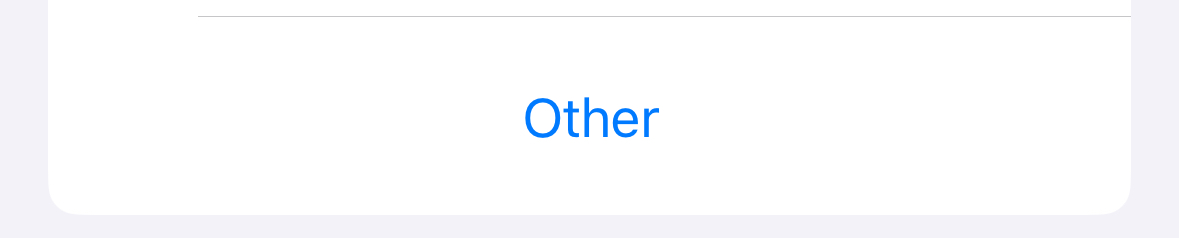
5. Select Other at the bottom of the list
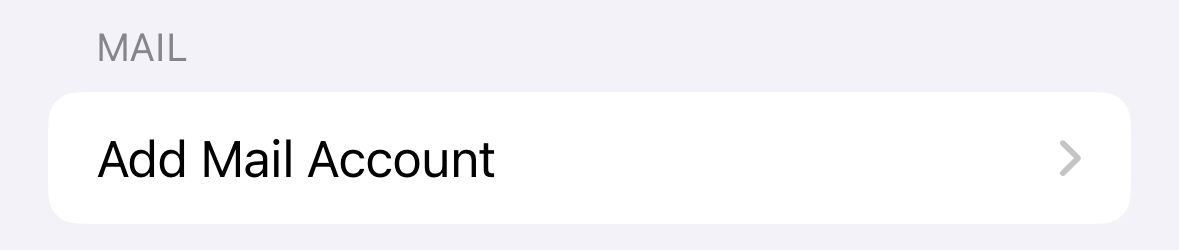
6. Select Add Mail Account at the bottom of the list
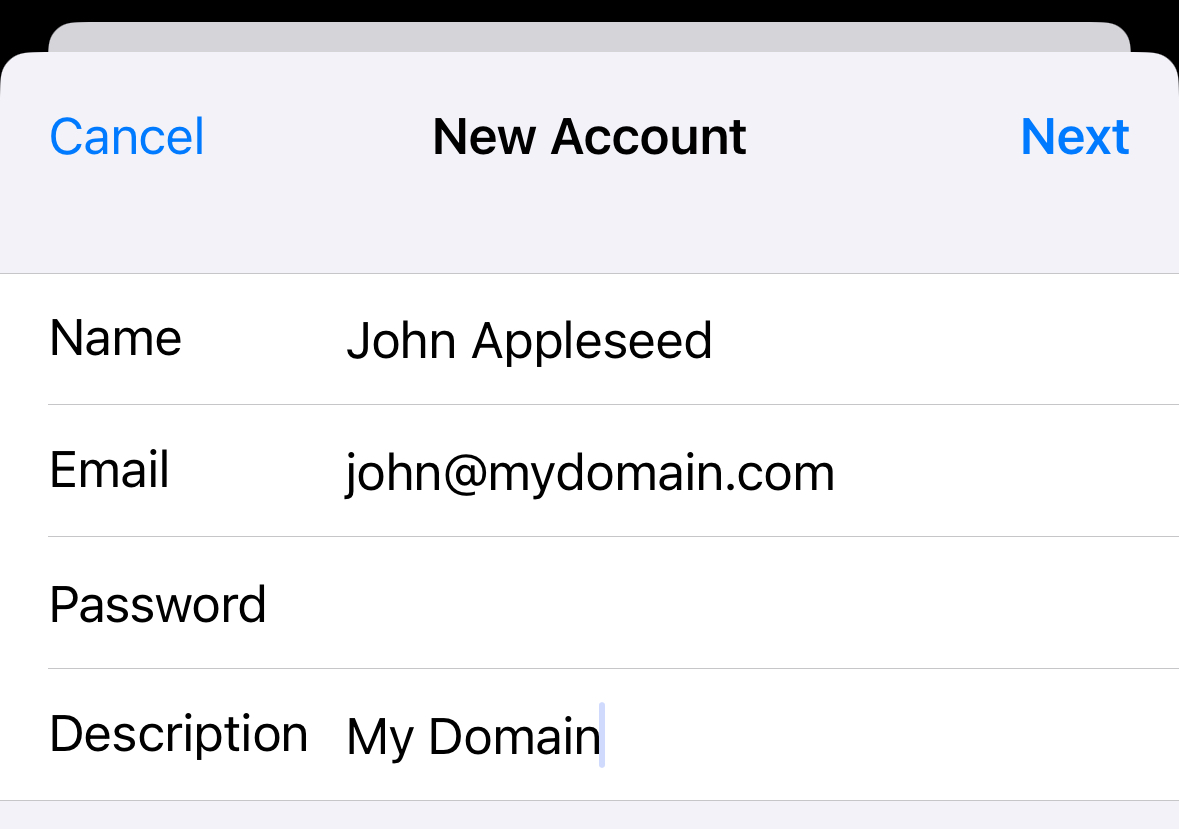
7. Enter your account details and select Next
Name – This will show as the “From Full Name” recipient on the receivers email
Email – The full email address you wish to add
Password – The password you use to login to Webmail
Description – This will show in your iPhone to identify the account e.g Support
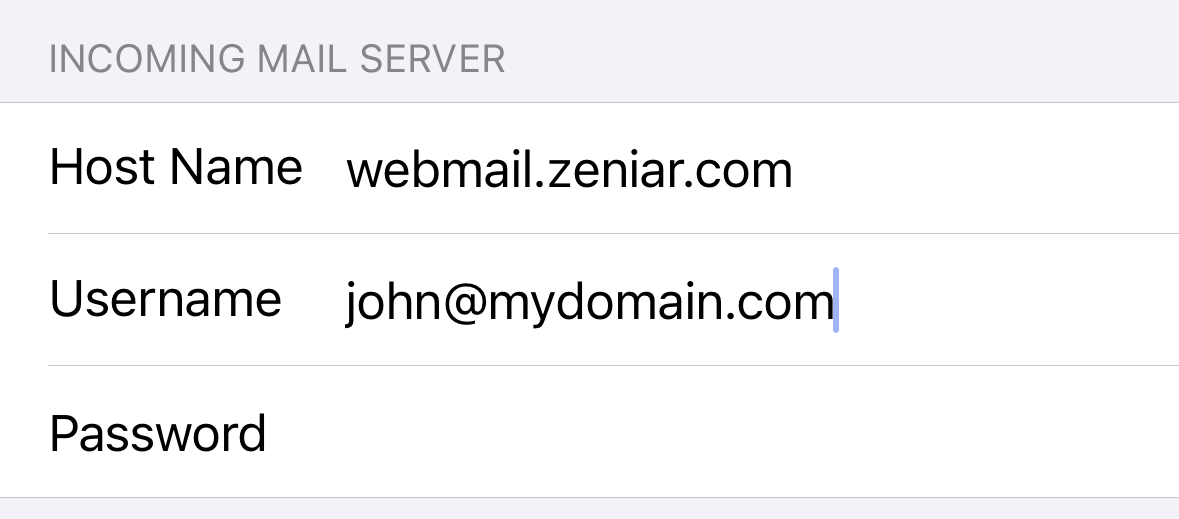
8. You will then be asked to enter the email server details which are shown below, once entered select Next
Select IMAP as the type
Incoming Mail Server
Host Name – webmail.zeniar.com
Username – Your email address
Password – The password you use to login to webmail
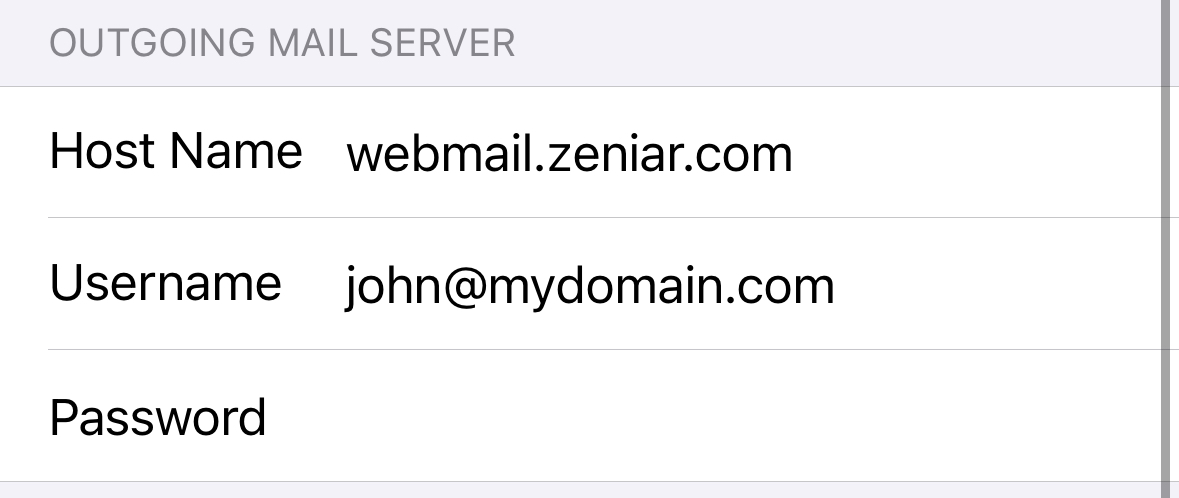
Outgoing Mail Server
Host Name – webmail.zeniar.com
Username – Your email address
Password – The password you use to login to webmail
9. Select if you would like to sync notes with the server
![]() Please ensure that Mail is switched on to send & receive emails.
Please ensure that Mail is switched on to send & receive emails.
The account will now be added to your iOS Mail app ready to send and receive emails
Require additional assistance?
Our dedicated Australian support team is ready to help. Reach out to us via email at support@zeniar.com or by submitting a support ticket through your Zeniar Portal.

